


GPU Hub
When it comes to managing a cryptomining farm, there’s nothing more tedious than keeping track of the hundreds or even thousands of GPUs. Acknowledging the pain our users with large farms experience on a daily basis, we made, what we think, is a massive quality of life improvement. Introducing the Hiveon OS GPU Hub.
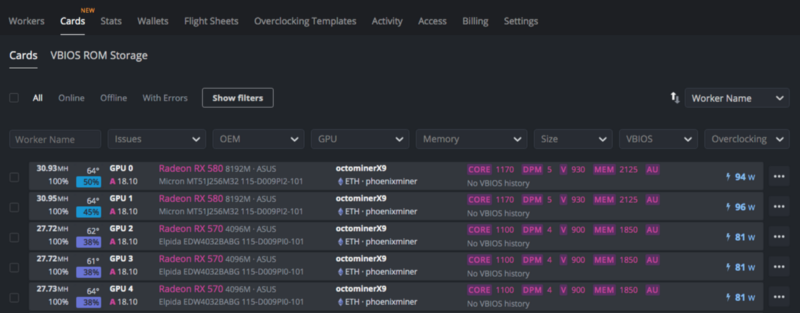
The GPU Hub is essentially your all in one tool for controlling all of your video cards across the farm. Here you can see all of your GPUs, their online/offline statuses, missing hashrates, invalid shares, OEM, brand manufacturer, memory manufacturer, VRAM size, overclocks and the most importantly VBIOS mass flashing utility.
But before we take a closer look at the flashing utility, Hive Team would like to stress the point, that unless you have experience with flashing a GPUs ROM, take caution when using this tool if you’re not sure what to do. There’s a high risk of “bricking” your GPUs if something was done incorrectly! Hive Team is not responsible for any damaged hardware and all responsibility lies solely on the end user .
With that out of the way, let’s take a look at all the nifty features available to you on the GPU Hub page.
Filters
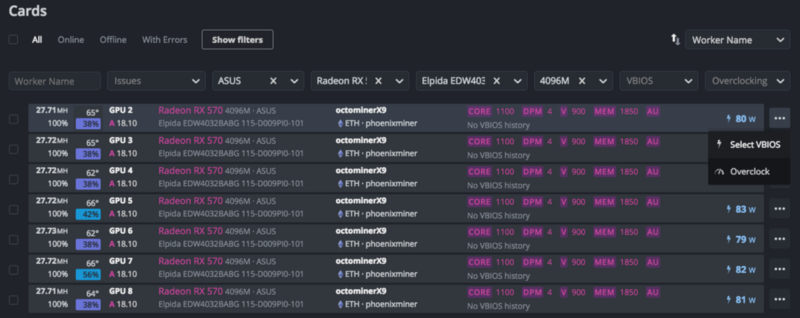
Let’s go through the basics first, the most essential tools at hand. On this page you’ll be able to sort and find your GPUs across various rigs by using different types of filters. These will be quite familiar and self explanatory for most Hiveon OS users, but in case you’re new, let’s take a quick look through these.

As you can tell from the screenshot above, you can sort your GPUs by the following parameters:
Online/Offline — see which are working and which are not.
With Errors — these are the GPUs that are not working properly for some reason and aren’t showing a hashrate, have missing or faulty drivers, reached high/critical temperatures, etc.
Worker Name — sorts the entire GPU list by their worker names.
Issues — here you can filter out by a specific issue:
- Overheat
- Missing Hashrate
- Invalid Shares
- Missing Card
OEM — sort by GPU manufacturer
GPU — sort by GPU model
Memory — sort by VRAM manufacturer and type
Size — sort by VRAM capacity
VBIOS — here you can filter out the GPUs by their VBIOS status:
- Flashed
- Last Failure
- In Process
- Preselected
- No VBIOS
Overclocking — here you can filter out the GPUs by their overclocking (OC) state:
- All
- With OC
- Without OC
The GPUs can also be sorted by the Tags you’ve created, coins that are currently being mined, miners used and GPU chip manufacturer: AMD or Nvidia.
VBIOS ROM Storage
And now let’s address the elephant in the room, the VBIOS ROM manager. We bet most of you skipped strait to this part of the article. Let’s take a thorough look at the different features this tool has.
This tool allows you to create a library of modded VBIOS for your farm’s GPUs by storing them and letting you bulk flash these ROMs across multiple video cards.
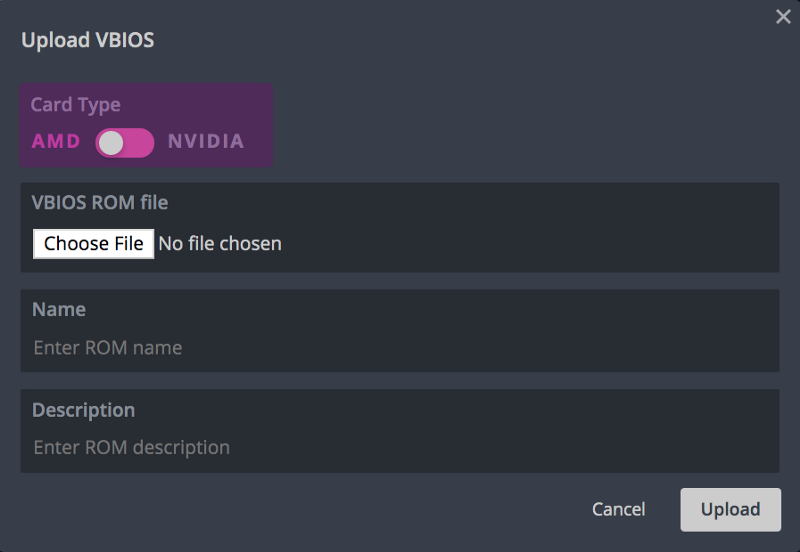
In the below examples, we’ll be using an AMD GPU.
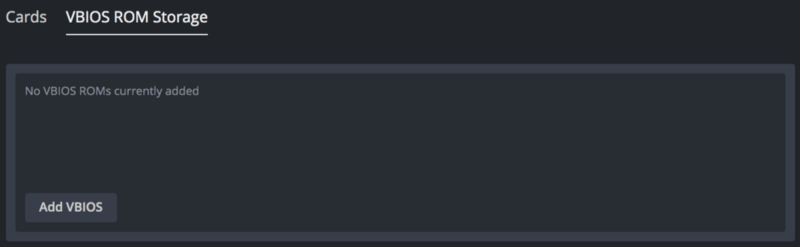
Working with the VBIOS ROM Storage is pretty straightforward, you start by click the Add VBIOS button. A new Upload VBIOS window will pop up and here you can choose between AMD or Nvidia. Then add a ROM file from your local storage by clicking Choose File. Optionally you can enter a ROM name and a ROM description. Very handy when you have several available for the same type of GPU and for general organization purposes.
Click Upload and you’ll see you ROM appear in the storage list above your GPUs. The number of ROMs that can be stored is unlimited. Once you upload a ROM, you can then download in to your local storage if needed or edit the description and name. Also the ROMs can be removed from the list if you don’t need them anymore.
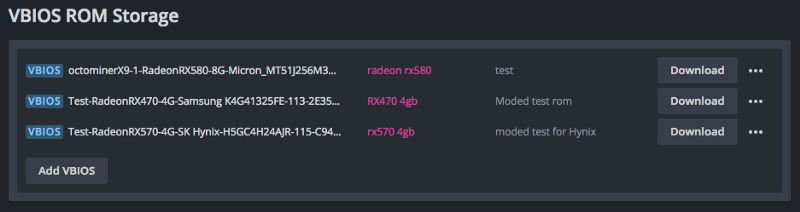
Example of ROMs stored in the list
Actions Toolbar
As soon as you choose any number of GPUs, you’ll see a new toolbar appear on top with different actions. All these actions will apply across all rigs and GPUs that have been selected. Let’s take a closer look at these from left to right.

Power Actions
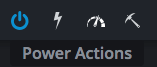
You can perform the following actions across all your rigs:
- Reboot
- Shutdown
- Shutdown & boot in 30s — note that this won’t work with all motherboards. Consult your hardware manufacturer for details on wakealarm support
Flash VBIOS
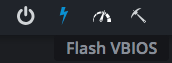
After clicking on this action, a new context window will open with options of choosing a ROM you want to flash across all your chosen GPUs. Details on the flashing process are described further down this article.
Overclocking Templates
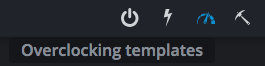
Here you can set global overclocks across all selected video cards. These can be set simultaneously for both AMD and Nvidia, but keep in mind that it’s preferable to set overclocks only across GPUs of the same type.
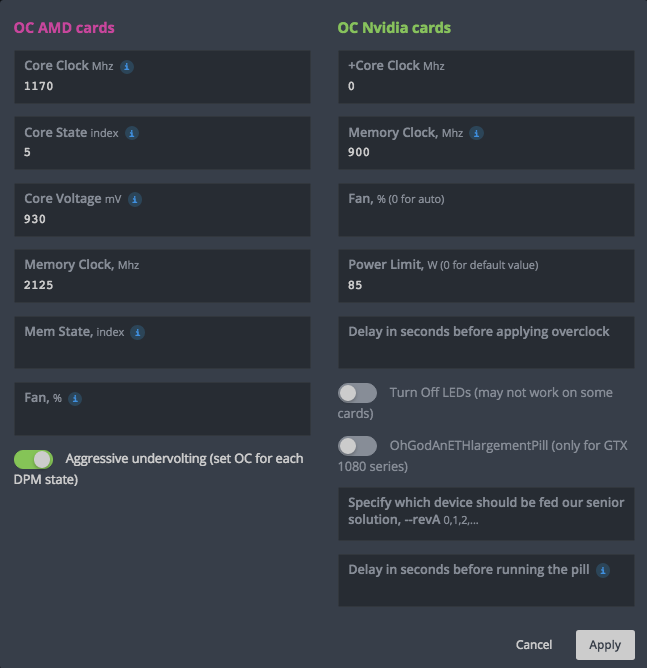
If you’ve never done any overclocking in Hiveon OS before, you can read more on the subject in this article.
Miner Actions
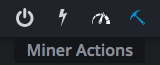
And finally, we have the miner actions. These are pretty self explanatory and by clicking on the action you’ll have the following two options:
- Stop Miner
- Restart Miner
Flashing a VBIOS ROM
After uploading the necessary ROMs into the Storage and selecting the GPUs you want to flash, click the Flash VBIOS button from the toolbar above and a new context window will open.
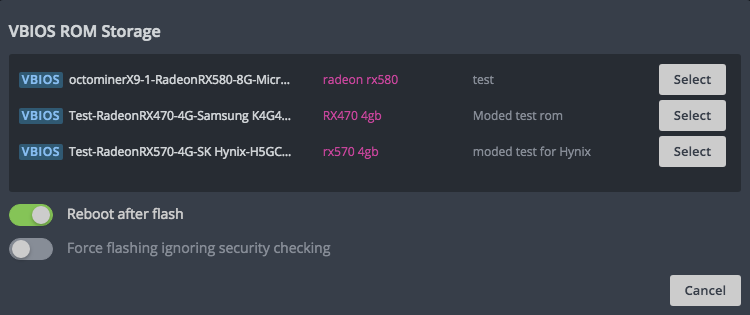
You can set the rigs to reboot after flashing ROMs. Also it’s possible to force flash the ROM ignoring any security checks, this option will come in handy when flashing without a signed certified ROM.
Although this would seem obvious, let us remind you not to flash a ROM across multiple GPU types that are not of the same technical parameters, like manufacturer, memory vendor, RAM size, etc.

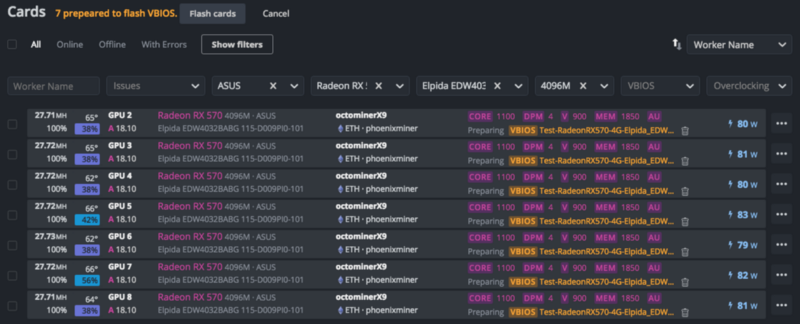
After selecting one of the ROMs you may have in the list, assuming you have multiple, the window will close and a new prompt will appear at the top of the video cards list. By clicking Flash cards, all selected GPUs will get flashed with your selected ROM. You can click Cancel in case you changed your mind.
Remember, always have a backup of your GPUs’ original ROMs in case you’ll need it . If your still not sure what you’re doing, don’t use this feature.
Once everything is set, you’ll see Preparing VBIOS text with the name of the ROM appear in each selected GPU indicating which ones will get flashed. Click Flash cards to proceed. The process of flashing can take some time depending on the number of GPUs, so be patient. There will be an indicator on the GPUs that got successfully flashed an those that failed.
You can also individually flash a ROM onto a single GPU by clicking on the triple dot button on the left hand side of the video card list. The procedure is identical to flashing multiple GPUs, just click Flash cards and wait. Additionally you can individually overclock each GPU from that same pop-up menu.
As a conclusion, the GPU Hub is a powerful tool that was designed to make life easier. But as it’s known, with great power comes great responsibility. Thus we can’t stress enough on the point that users should be careful when bulk flashing their GPUs as there’s plenty of space for potential errors.
Always double check what you’re doing when flashing ROMs . Good luck and happy mining!

