


Installation guide L7
Important notes
- For the initial firmware installation, you should use the microSD file.
- If you face troubles with the ASIC miner start or receive error statuses, please get in touch with our support team via [email protected] and provide a link for a particular worker.
Prerequisites
An SD card of up to 32 GB is required.
Installation steps
1. Download the archive with the L7 firmware file:
SD card file: https://download.hiveos.farm/asic/L7/SD-L7_xilinx-Hiveon-latest.zip
2. Format an SD card to FAT32 with MBR (Master Boot Record) partition scheme. 3. Unzip the downloaded file and copy its content to the MicroSD card. There are files in the root folder. Fill them, and ASIC will connect to Hiveon OS after flashing:
- FARM_HASH—in this file, insert FARM_HASH from the farm settings
- HIVE_HOST_URL—insert the API server, if it is essential to replace it. If the file is empty, the standard server is used (api.hiveos.farm)
Next, turn off your ASIC and perform the following actions:
1. Insert the SD into the control board's slot. 2. Turn on your ASIC. 3. Wait for the autotuning to be done.
Allow your ASICs to undergo the autotuning process, which might take up to 2 hours. Refrain from interfering and keep the devices powered on to ensure a successful error-free operation.
Formatting a microSD card
To minimize efforts for microSD card formatting, it is available to write the file with the help of the BalenaEtcher application.
1. From http://download.hiveos.farm/asic/, download an archive with the necessary firmware version. An archive is marked with a special icon for better recognition.
![]()
2. Run the BalenaEtcher application.
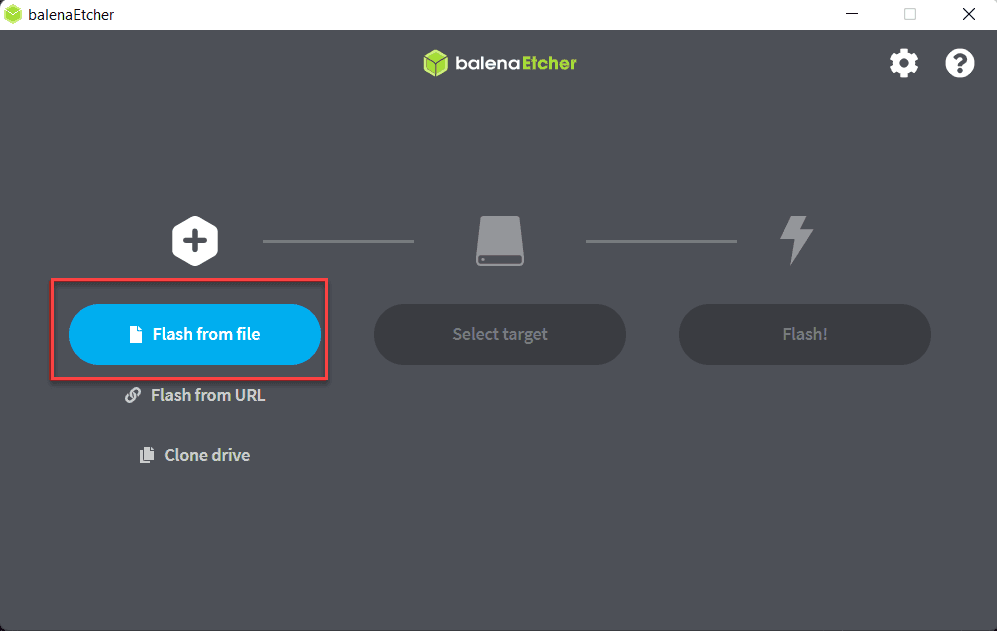
3. In the BalenaEtcher application, click Flash from the file and select the ASIC firmware archive that you have downloaded.
4. Insert a microSD card of less or equal to 32GB into your computer.
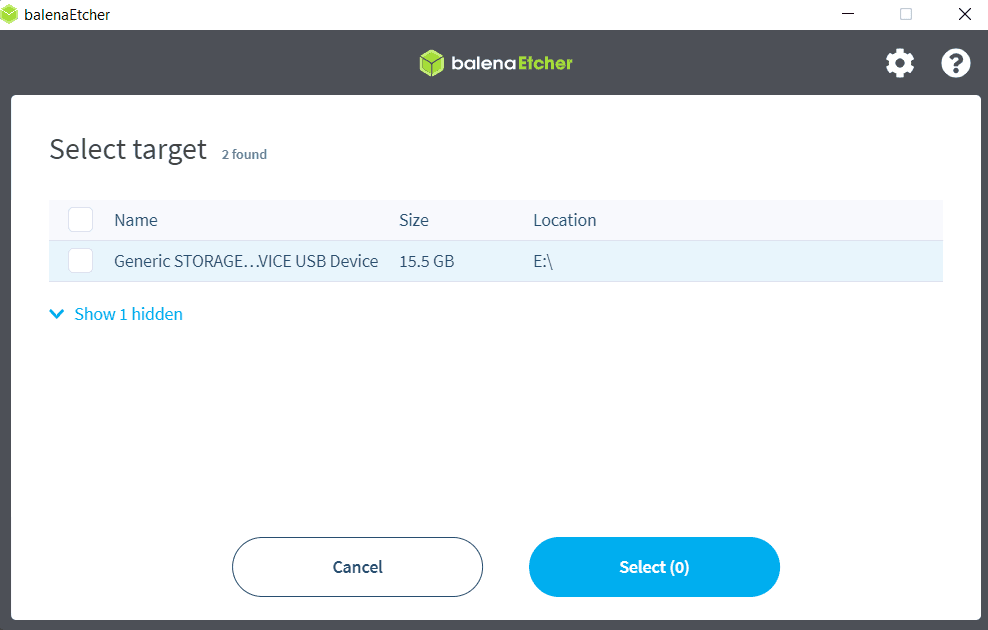
5. In the BalenaEtcher application, click Select target and choose your microSD card.
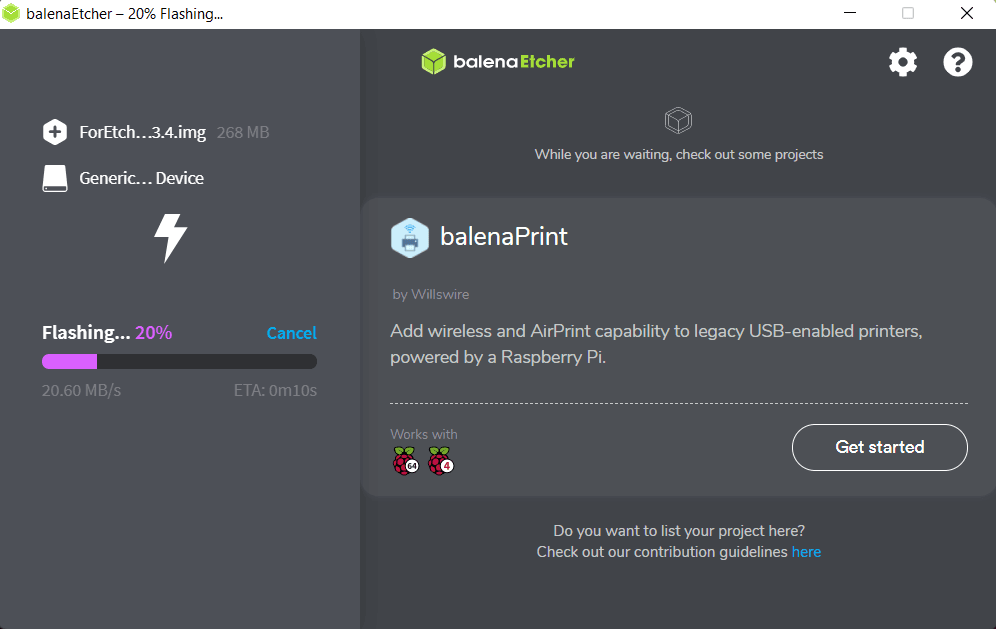
6. Click Flash.

The writing process has started.
When the writing process is finished, you can eject the microSD card.
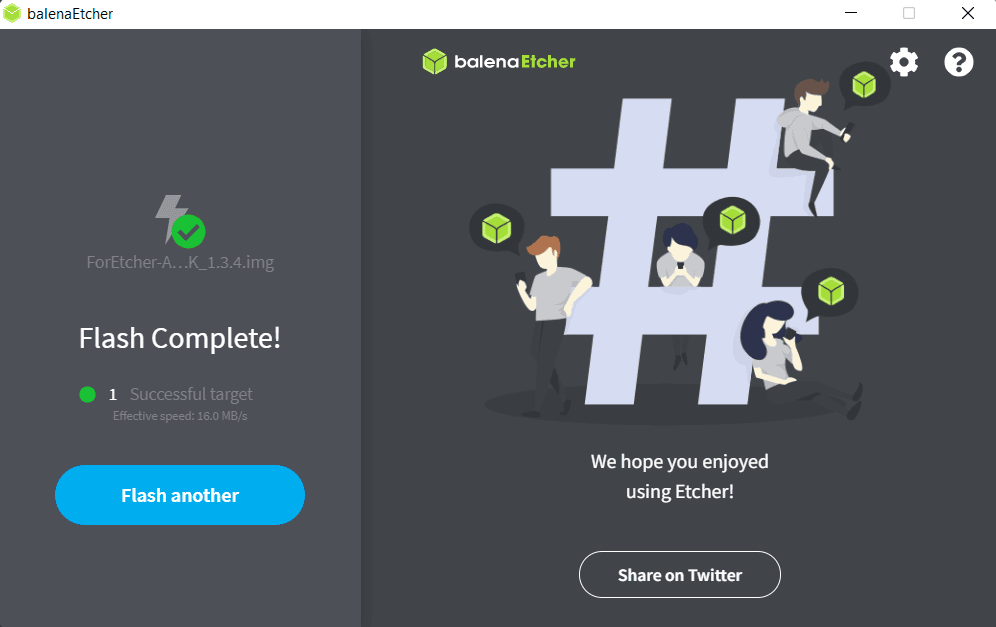
Now you can insert the microSD into the turned-off ASIC miner, and then, turn the ASIC miner on.
Updating a firmware version
If you use one of the previous versions of Hiveon OS for your ASIC miners or GPU rigs, you need to first update them to a compatible firmware.
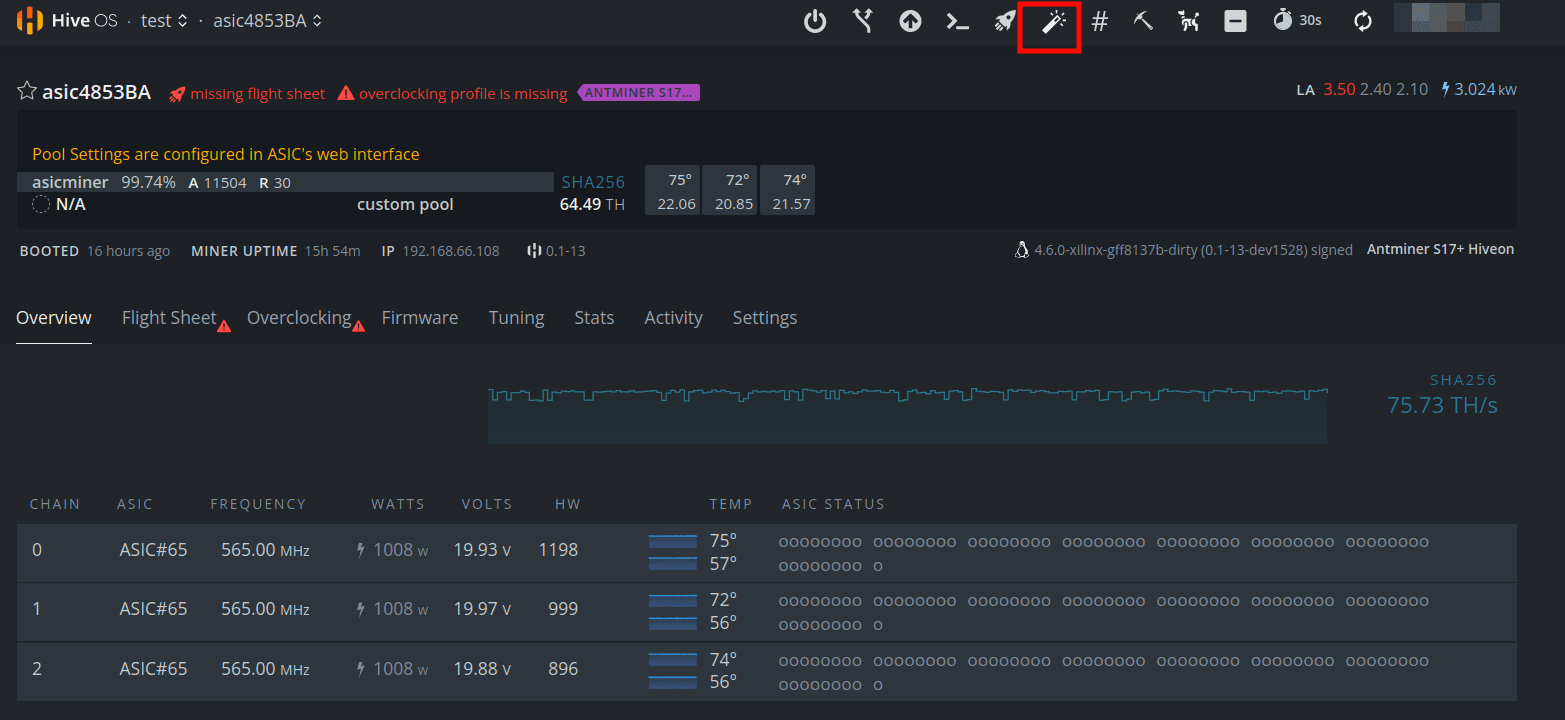
For ASIC miner — click the  icon located on the ASIC control panel of the miner.
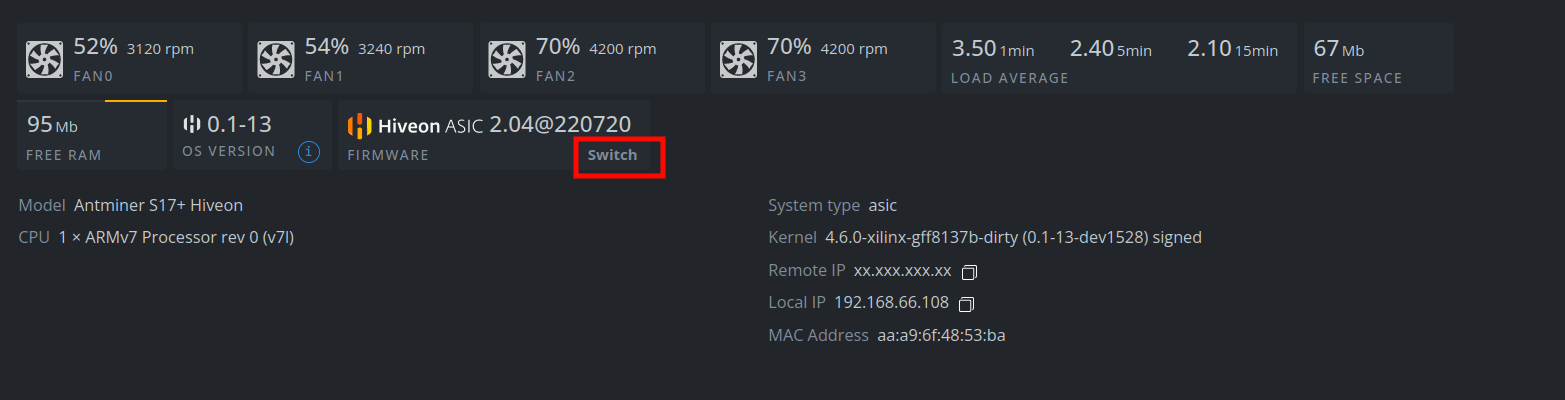
For GPU rig — click Switch next to the OS version.
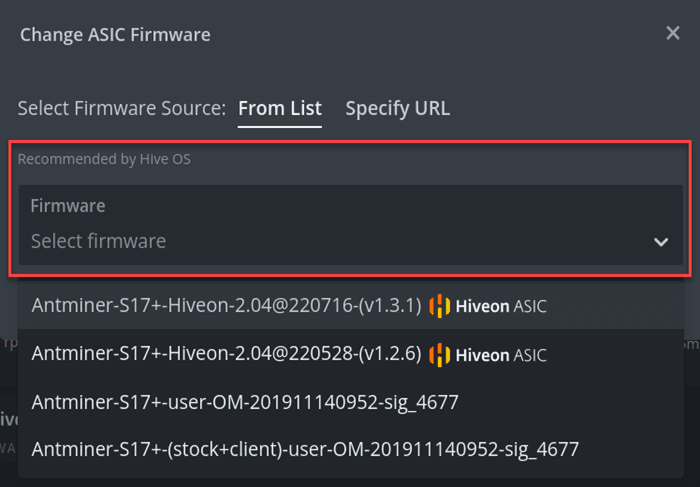
In the displayed window, click on the Select firmware drop-down list and select the desired firmware version. Then, click Apply.
Related articles
