Before installing Hiveon OS on your rig, we recommend creating an account first, or logging into your existing one.
Adding worker
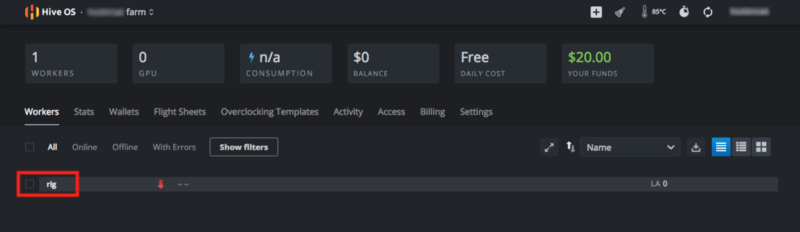
After creating an account, you will be greeted by your farm’s overview tab. Click the plus icon on top of the menu.
In the displayed window, select addding either an ASIC miner or a rig.
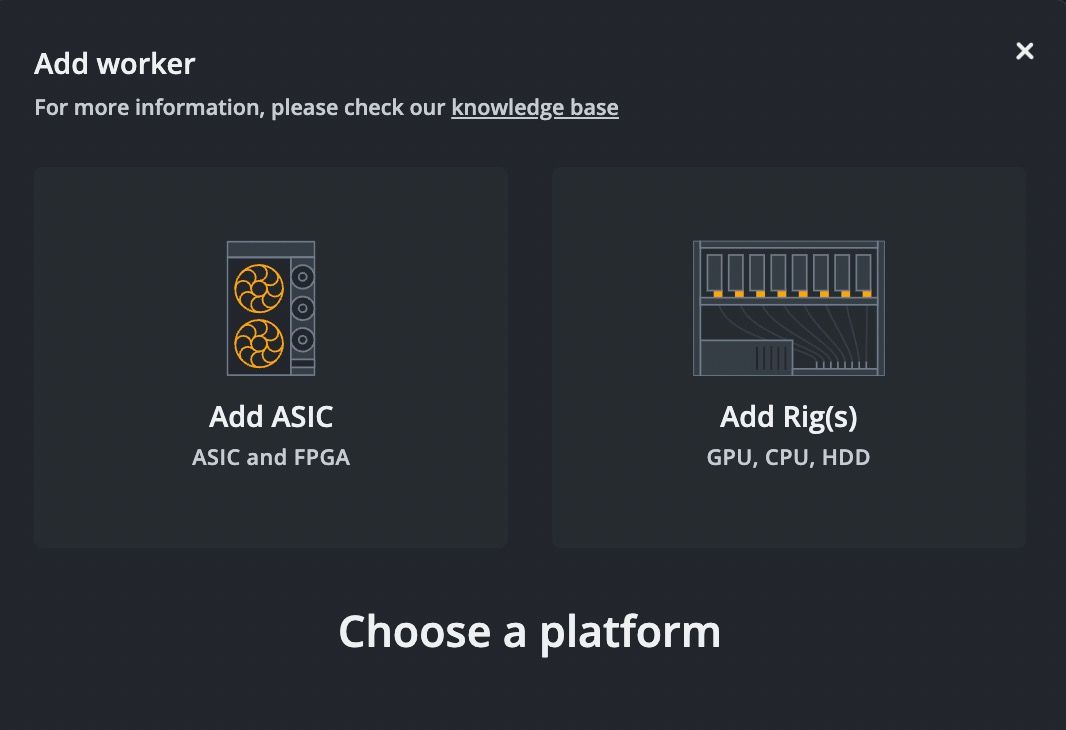
Here, we provide an example of a rig creation.
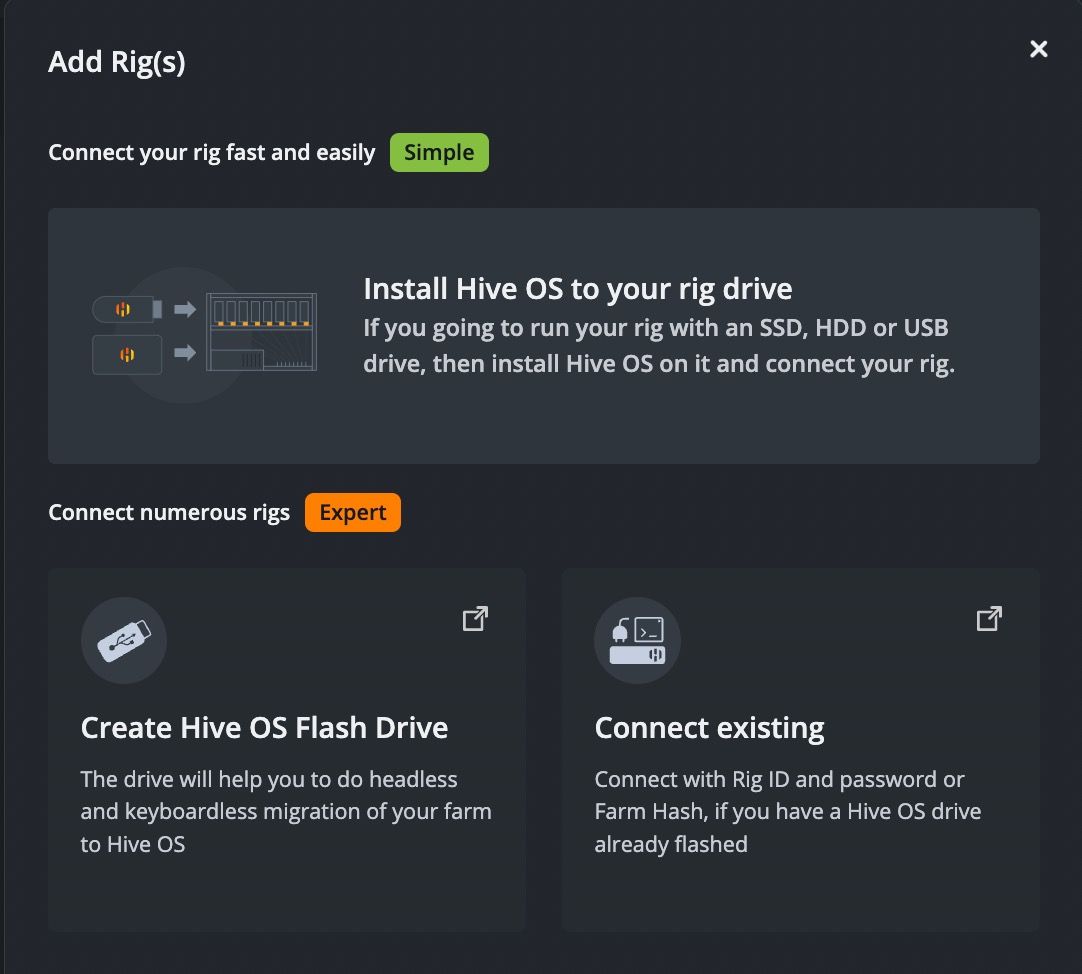
In the displayed window, select the appropriate option to configure your rig.
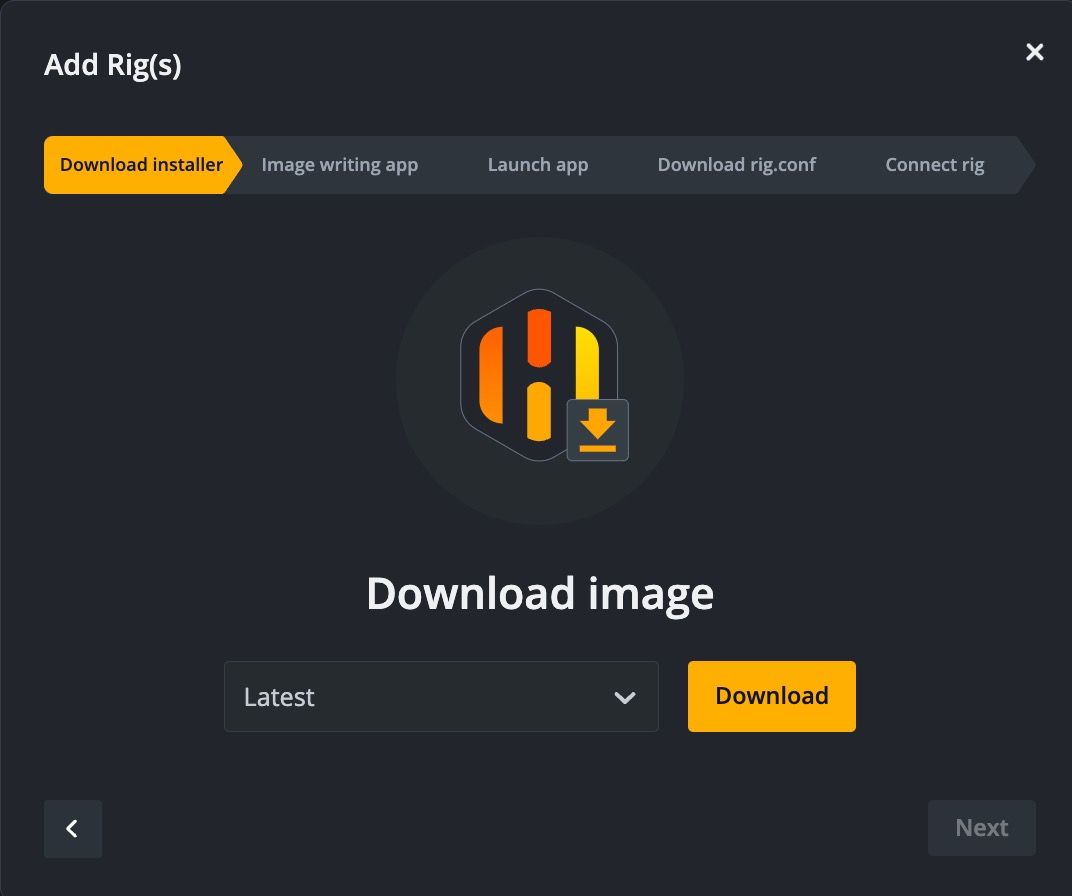
Then, select the appropriate version of the image and click Downlod to save it on your PC. Click Next.
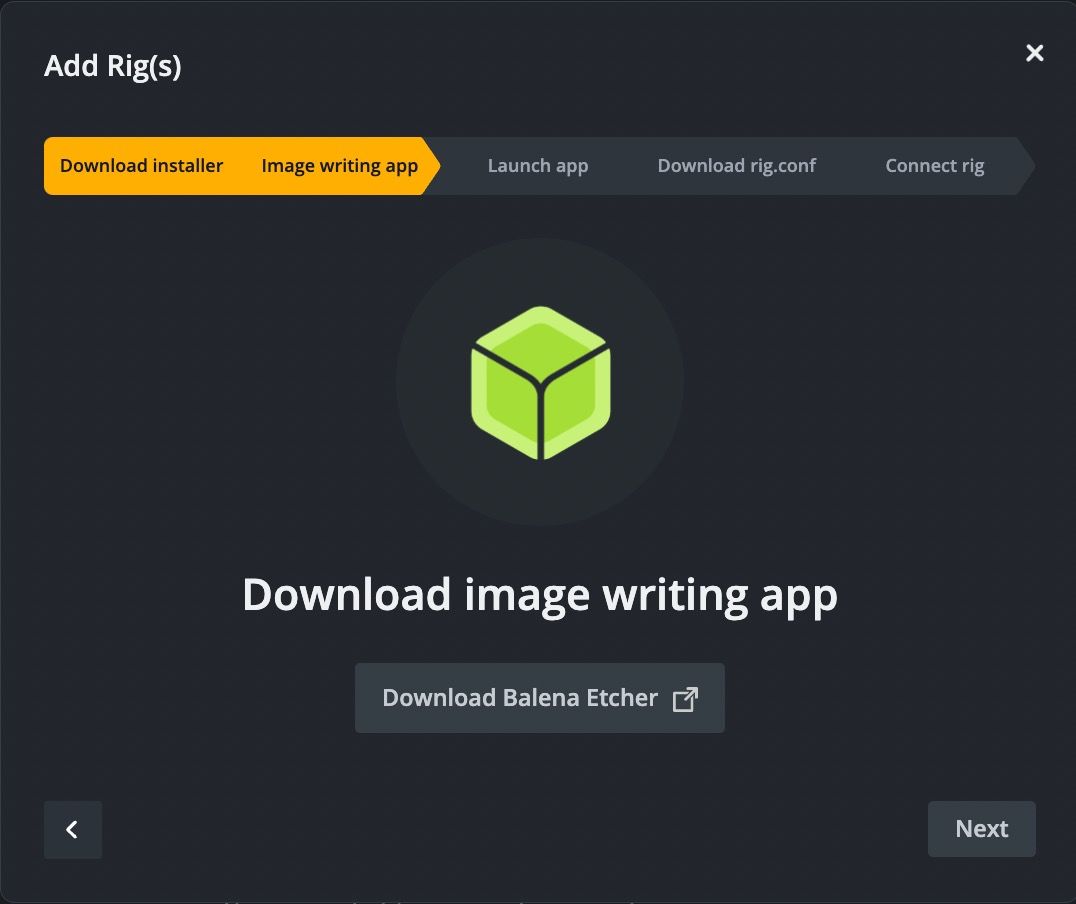
Next, download the Balena application to your PC and click Next.
Launch the Ballena application and follow the following instructions:
Insert a USB drive with 8Gb or more into your PC or Mac. Windows, MacOS and Linux users can use Win32 Disk Imager, Etcher, Rufus or any other software of their choice. This example shows using Etcher to flash the image:
1. Select an image

2. Select a drive

3. Flash
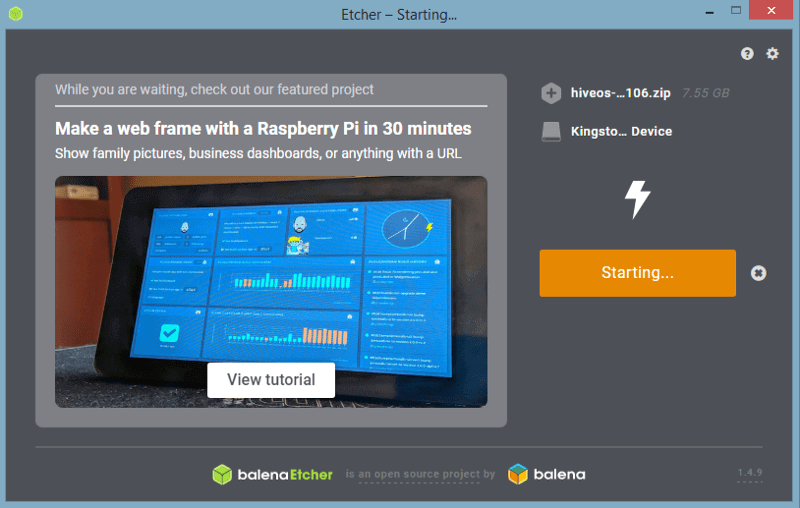
Wait for the image to flash to your USB drive.
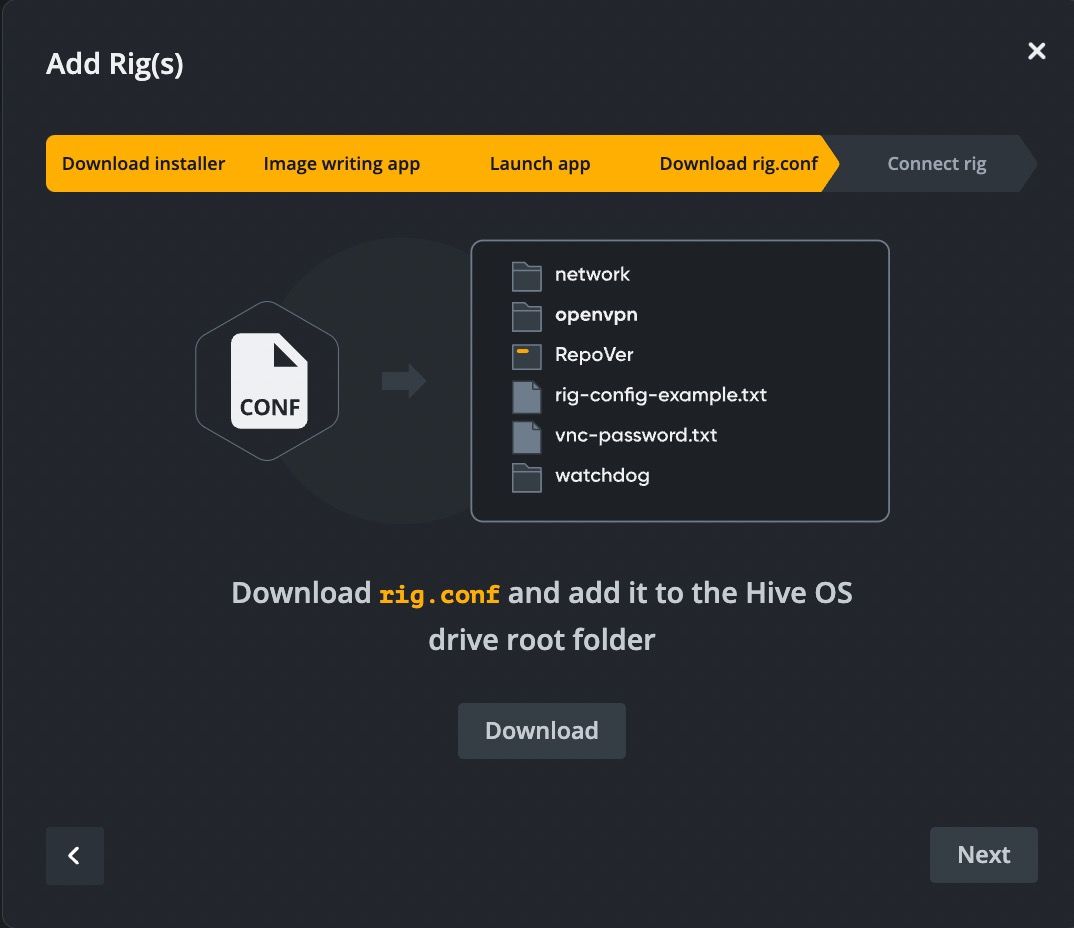
Continue the rig creation process by downloading a rig.config file
As soon as the image is done flashing, you should see a new drive called “Hive”. Click to open its contents.
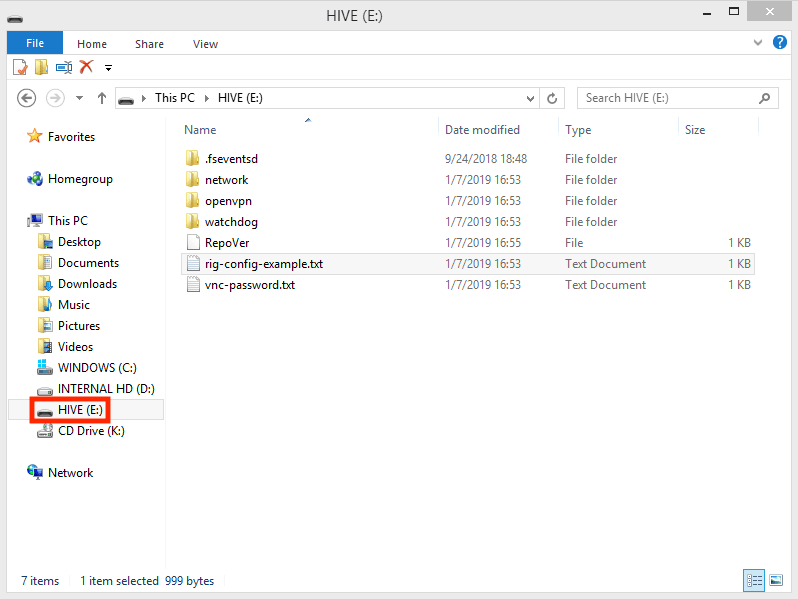
Add the rig.conf file you downloaded previously to the Hive image drive.

Remove the USB drive from your computer and then insert it into the rig.
Install image
Insert the USB into your rig. Boot your rig and wait for it to install the image. Once done, your PC screen should display the similar result:
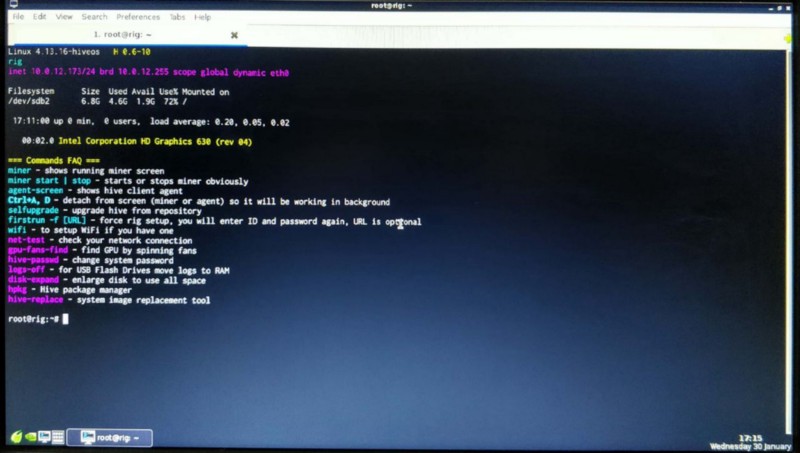
Now everything is configured and after the connection to Hive, you can start working with your rig.
Read more about how to configure your rig here.
Also, check out these guides and videos if you still need a help with the installation:
Installation packages
Videos
alt="Getting Started & Connecting to Hiveon OS" />
Additional sources